Home remodels can get dirty, dusty, and just plain messy. After the drywall is installed, it can easily sit for weeks without being painted, as this is one of the last steps before furniture and appliances are installed. Unprimed and unpainted drywall tends to accumulate a layer of debris in a construction zone, so it’s essential to keep it cleaned and primed for painting later on.
One of the main issues with cleaning drywall is the outer surface is absorbent like paper, and paper doesn’t hold up so well to water. An essential technique when cleaning drywall is to start with dry cleaning first.
Tools You’ll Need
Shop vacuum
Pair of gloves
Tack cloth
1 cellulose sponge
1 gallon of warm water
1 cup of clear ammonia
1 cup of white vinegar
1 cup of borax or washing soda
Step-by-Step Instructions
-
1Step 1Dry Clean
Start with dry-cleaning before you proceed with a liquid-based cleaning method. Use a shop vacuum hose with the brush attachment.
-
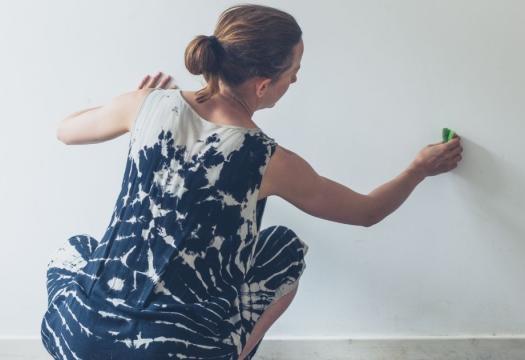
2Step 2Gently Clear Away Debris
Use a tack cloth for small areas to gently clear away debris. Ensure you’re not pressing too hard, or you may embed wax in the drywall paper, damaging the surface.
-
3Step 3Wet Clean
Move on to wet cleaning if dry-cleaning methods don’t give you the desired result. Start by dipping your cellulose sponge in your water mixture and squeezing out the excess water. The sponge should feel virtually dry.
Begin at the top of the drywall slab, using very light pressure and downward strokes.
Rinse off and ring out the sponge frequently. If the water starts to appear murky, change it out. It doesn’t do you any good to clean with dirty water.
Keep in mind that these instructions are for unpainted drywall. If you’re trying to clean painted drywall, an acrylic-latex paint surface is relatively water-resistant. So, using warm water and a non-abrasive all-purpose cleaner is safe and shouldn’t cause damage.